")
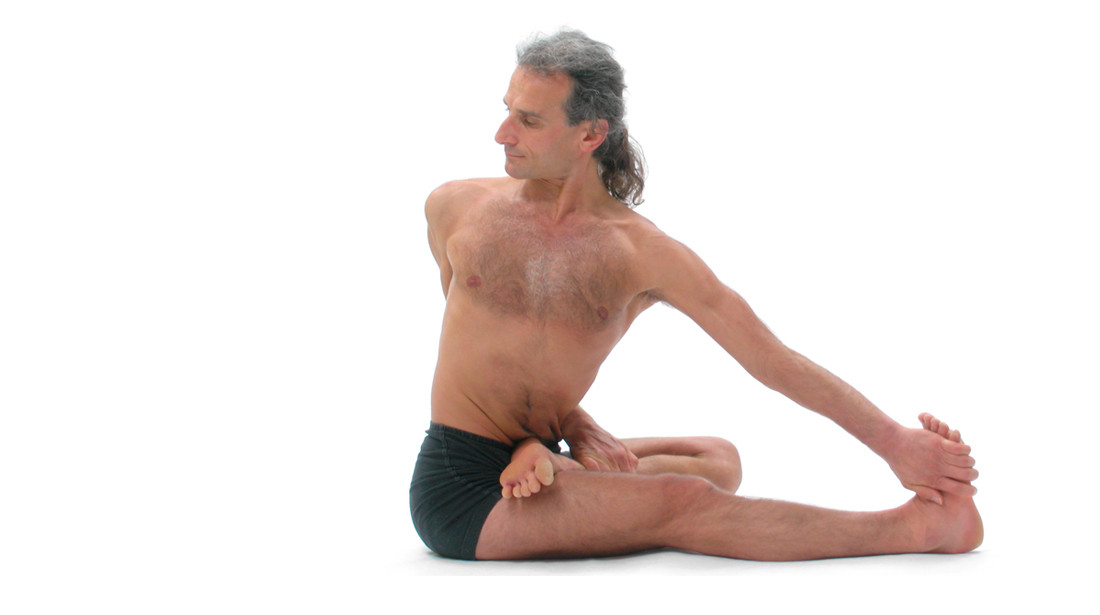
Simon Borg-Olivier in ‘Scorpion Posture’ (Vrschikasana)
This video is Part 22 of a YogaSynergy Spinal Movements Sequence taught by physiotherapist and Director of Yoga Synergy, Simon Borg-Olivier, which he teaches in person in courses throughout the world as well as Online in courses at RMIT University and Online in courses at Yoga Synergy called Advanced Yoga Fundamentals and Applied Anatomy and Physiology of Yoga.
In this part, Simon Borg-Olivier demonstrates how use the abdominal oblique muscles to help to twist your trunk. He also shows how to us the’ relaxation reflex’ to increase relaxation, flexibility, strength and fitness. Also he discusses how to safely and effectively bend the spine backwards (spinal extension).
Edited Video Transcript and Notes:
Simple active spinal twisting (enough for most people to learn):
“The external oblique muscle is going from the pubis to the outer rib cage. When the right external oblique muscle is activated it will help you twist to the left side. Whereas it is the left internal oblique muscle on the opposite side, going from the centre of the rib cage to the outer hip, that will contract to twist you to the left side. So when you exhale fully most people generally tighten (simultaneously activate) both external and internal oblique muscles (and therefore immobilise the spine). But when you twist to the left you’ll tighten the right external oblique and the left internal oblique. Yet they in combination will give you stability around your spine. So an active twist gives you tremendous stability but this co-activation (simultaneous tensing) of opposing muscles does not disable your diaphragm from working. So when I twist actively (i.e. using my spinal muscles) the abdomen is firm but I can still breathe into my abdomen. So that means I am balancing anatomical stability with physiological well-being.”
Advanced active spinal twisting with shoulder and hip resistance (not recommended for most people):
“Now as the movement becomes easier to do (which will take some time for most people) I can start to resist the movement and increase the stretch (by eliciting ‘inverse myotatic reflex’, which is also known as the ‘relaxation reflex’) . So, I’m still pushing my left hip forward, and my right armpit in the direction that the armpit is facing, so it’s as if the hip and the armpit are trying to push towards each other. That gives me stability. I can actually ‘stretch’ my hip and shoulder further by pushing the elbow and knee in the opposite directions (as if the right arm and left hip are trying to ‘escape’ out of the posture). So, as I move into the next movement then my left knee will be pushing to the left, my left hip is pushing to the right. My right elbow is pushing to the right but my right shoulder is pushing to the left. This takes coordinated action. For most people if they try this usually the abdomen will go soft and there’s risk of damage to the spine (or often the abdomen will become reflexly tense or hard and immobile using the muscles of forced abdominal exhalation that tend to inhibit the diaphragm, which is the main muscle of abdominal inhalation and the main positive influence on the health of the nervous system and the internal organs of digestion , reproduction and immunity). I push left hip forward and to the right. I push right shoulder to the left. I push right knee now to the left side and the left outer hip is tensing while it’s stretching which actually makes it stretch further. I’m going to pull my right elbow to the right but my right shoulder is moving to the left. Pushing the right shoulder to the left gives a spinal firmness and pushing the right elbow to the right tightens and tenses the outside of the right shoulder while it’s lengthened (stretched), and that increases the stretch . It also makes that muscle a bit stronger. Then when I release those grips everything is much more relaxed. This is the relaxation response.”
Safely releasing from the spinal twist:
“Before releasing the pose I again push the left knee to the right and right elbow to the left so I can release safely and not have the muscles rebound as if they were a rubber band releasing.”
Safe bending backwards in standing postures (spinal extension):
“Now I do a spinal extension movement to finish. Again I stretch the mat with the feet, turning the right foot out and I arch the back (spinal extension). Checking with my fingers where the stiffest part of my spine is I tell myself to bend where my body is stiff rather than weak. For me it’s about the base of my thorax, just at the junction between the lumbar and the thoracic spine. That’s the same for most people, it’s the region around the kidneys (between T12 and L3) and also around the base of the spine at L4 and L5. So, I pull the middle of the back inwards (spinal extension around T12), lift the collar bone (to lengthen the back of the trunk and spine), take the back of the hands together to my forehead and push the armpits forward and up, throat forward, chin up, and then breathe from my diaphragm into the abdomen (in order to pull the 5th lumbar vertebra forward and upward). Firm but calm I take my arms up. My body is firm by ‘stretching the mat with the feet’, which activates the muscles at the front of the left hip and the back of the right hip and it’s relaxed (calm) by breathing diaphragmatically. So, anatomy and physiology are balanced. Neurologically there is movement, energy and information through the nervous system. At a cardiovascular level blood is flowing without the heart having to work hard.”
Safely releasing from the back-bending posture (spinal extension) to the ‘Push up’ posture:
“I stretch the mat with the feet, lengthen the back of my body, then move the navel forward and downward to come back to a kneeling plank, or the full plank as I have now. Then pushing the hips to the hands gives me firmness and breathing to the abdomen keeps me calm. Then I lower into the push up. Here I am squeezing the heel of my hand inwards (to create elbow firmness called kurpara bandha), with my fingers gripping (creating wrist firmness called mani bandha).”
The ”Upward facing dog posture’ (supine spinal extension) (not usually recommended for beginners or those with lower back pain):
“A simple extension movement using the hips and shoulders to traction the spine and bend it evenly at each vertebra (and maintaining length in the back of the spine), protecting a weak part of most people’s normal body, the lower back, because I am pushing my sitting bones forward.”
The standing forward bend:
“Here I extend the spine (by lengthening the front of the body without shortening the back of the body, and without lifting the sitting bones away from the floor or allowing the top of the hips to come closer to the floor). A spinal extension is also balanced because I am pushing the sitting bones down and forward and that firms the front of my abdomen (because the main spinal flexor, the rectus abdominis is forced to become active in bending the spine forward as opposed to passive forward bend that gravity normally causes). I keep that action as I bend forward and now it’s safe for me to do a forward bend with my legs straight because my hamstrings (and sciatic nerves) are not stretching and my spine is also protected because I am pushing my sitting bones forward and my armpits backwards (both of which allow the lower back joints to lengthen and the muscles around the lower back to relax. As I stand back up again I push the hips forward and that gives me protection (by again allowing the lower back to remain lengthened and relaxed).”
You can see a demonstration of the the entire Spinal Movements sequence by clicking here
Additional Information on Bending Backwards (spinal extension):
This is a ten minute about how to safely do backbend movements in a way that can relieve lower back tension and compression. I made this very non-professional quality video purely for the use of some of my private clients but several people have asked me to release it for the general public.
The information presented here mainly talks about how to the ‘Camel’ pose (Ustrasana) and it’s related postures but it can also be applied all backward bending postures including the standing back-bending (spinal extension) posture Utthita Virabhadrasaa, which is described in the Spinal Movements (Part 22) sequence shown here above.
DISCLAIMER: the sound quality is video is not perfect. My voice is slightly obscured by the sound of some machinery in the background, and the image of my body practicing does not always show the complete body.
If you want to learn more from Yoga Synergy and its Directors Simon Borg-Olivier MScBAppSc(Physiotherapy) and Bianca Machliss BScBAppSc(Physiotherapy) you can enrol in one of the comprehensive and award winning Online courses at Yoga Synergy called Yoga Fundamentals (a very practical course for anyone with an interest in yoga, exercise or health) and Applied Anatomy and Physiology of Yoga (a more technical course for teachers, therapists and experienced students). You can also do the more advanced version of these courses online at RMIT University as part of a Masters of Wellness Degree or as part of most bachelor degrees from participating Universities throughout the world.
Share this Post